Felts on the Go!
How to make a no-sew travel felt board?!?
This summer, as my son continues to grow it becomes increasingly harder for him to sit still. I should be happy and loving this surge of energy, and I do for the most part. It is a healthy sign of a healthy growing mind and body. But if you are like me, sometimes all you want and need is a little quiet time (especially in church, in the car, or to supervise that plumber that’s working on your kitchen sink). That being said, it is sometimes nice to have a little down time. Thus comes the need for independent, entertaining and quiet activities.
 When I was little my parents had a fuzzy felt set that I could take with me in the car or to church. I loved them! But I can’t find them anywhere now and decided to make my own portable felt board. Felts are great! They spur the imagination, work on fine motor and are great for busy hands and minds.
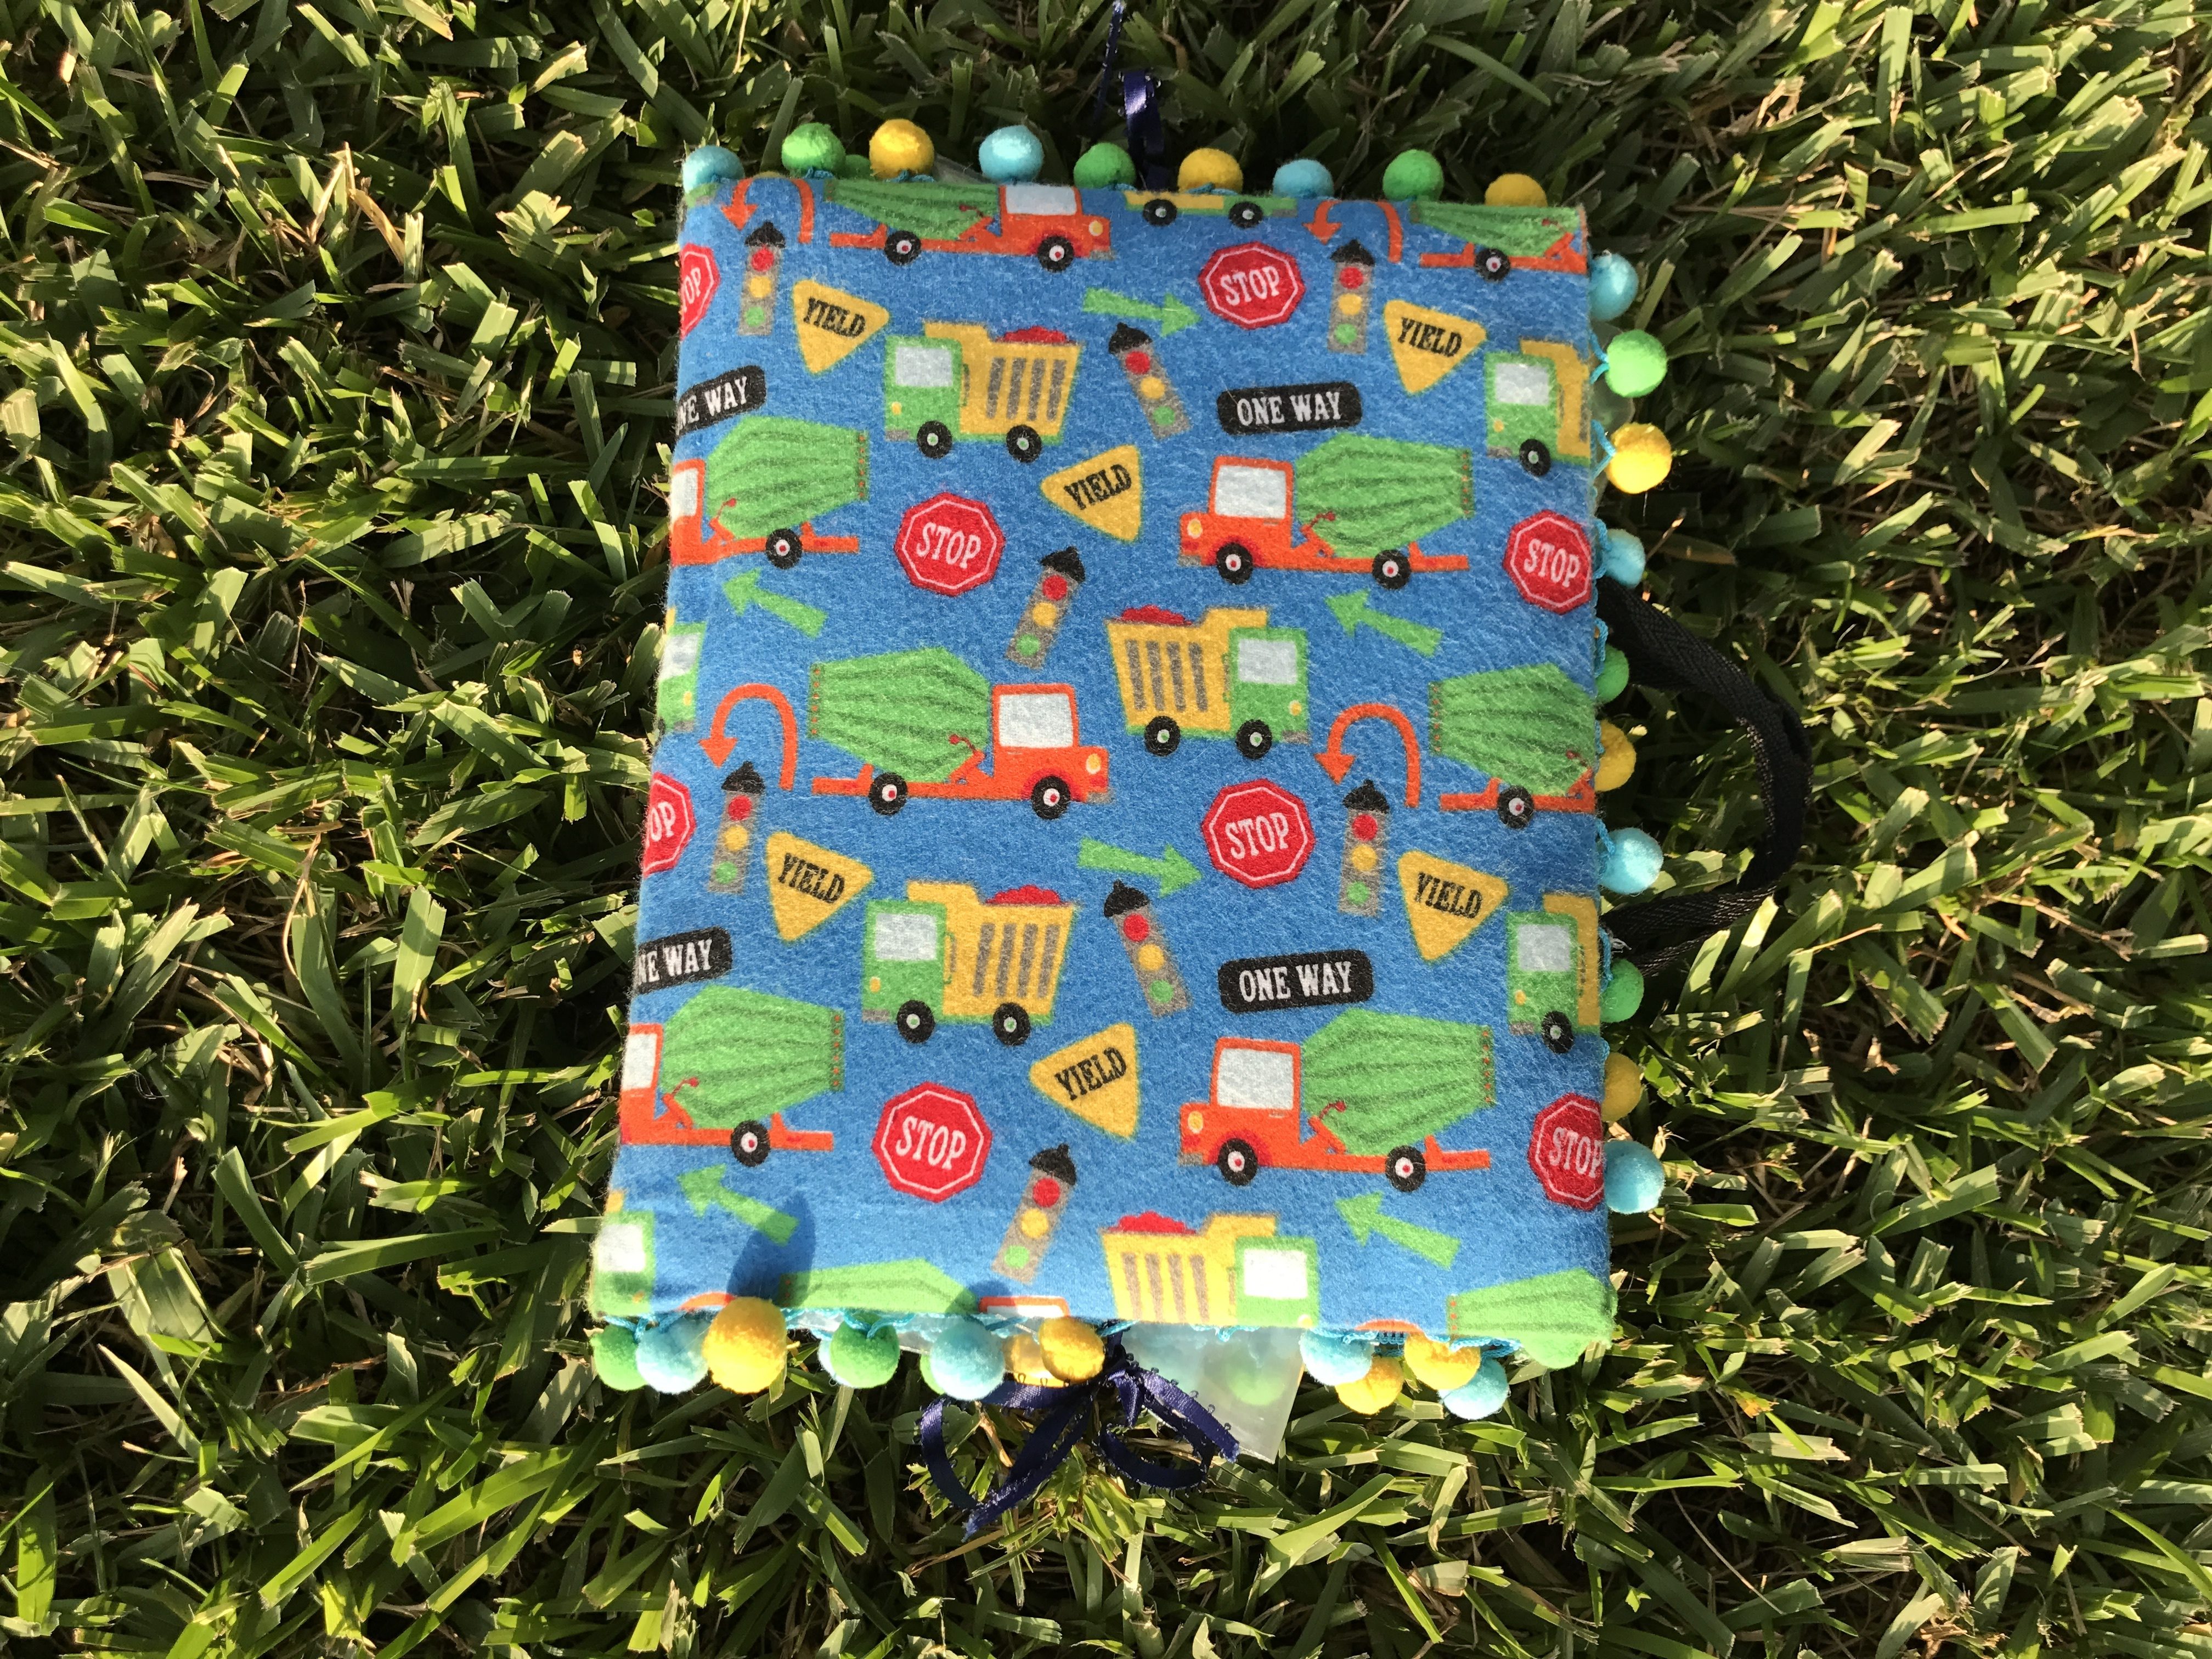
Without a sewing machine in hand, I searched the internet and talked with the helpful ladies at Joanne’s fabrics for ideas on how to make one of my very own. The picture above is is what I came up with. It was easy, no fuss and fairly quick to make.
Supplies:
- I decided to use flannel for the outside cover in a fun attractive pattern (I bought a yard even though I only needed 22 inches in length),
- Poly-Fil (or batting/stuffing to form the exterior),
- Fringe with balls on it (this is optional and quite honestly the most expensive part of my project: size of your perimeter: approx. 53”),
- Durable stiff board (I used canvas boards that were on sale: 8”x10”),
- 2 pieces of felt (9”x12”) in color(s) for the background,
- Cord or ribbon for the handle (approx. 3 ft/1 yd).
- Make sure you have a good pair of scissors for fabric, hot glue gun, and measuring tape. You may also want an iron to crease the lines you want to cut if you like having very straight cuts.
Instructions:
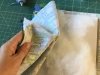
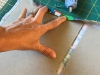
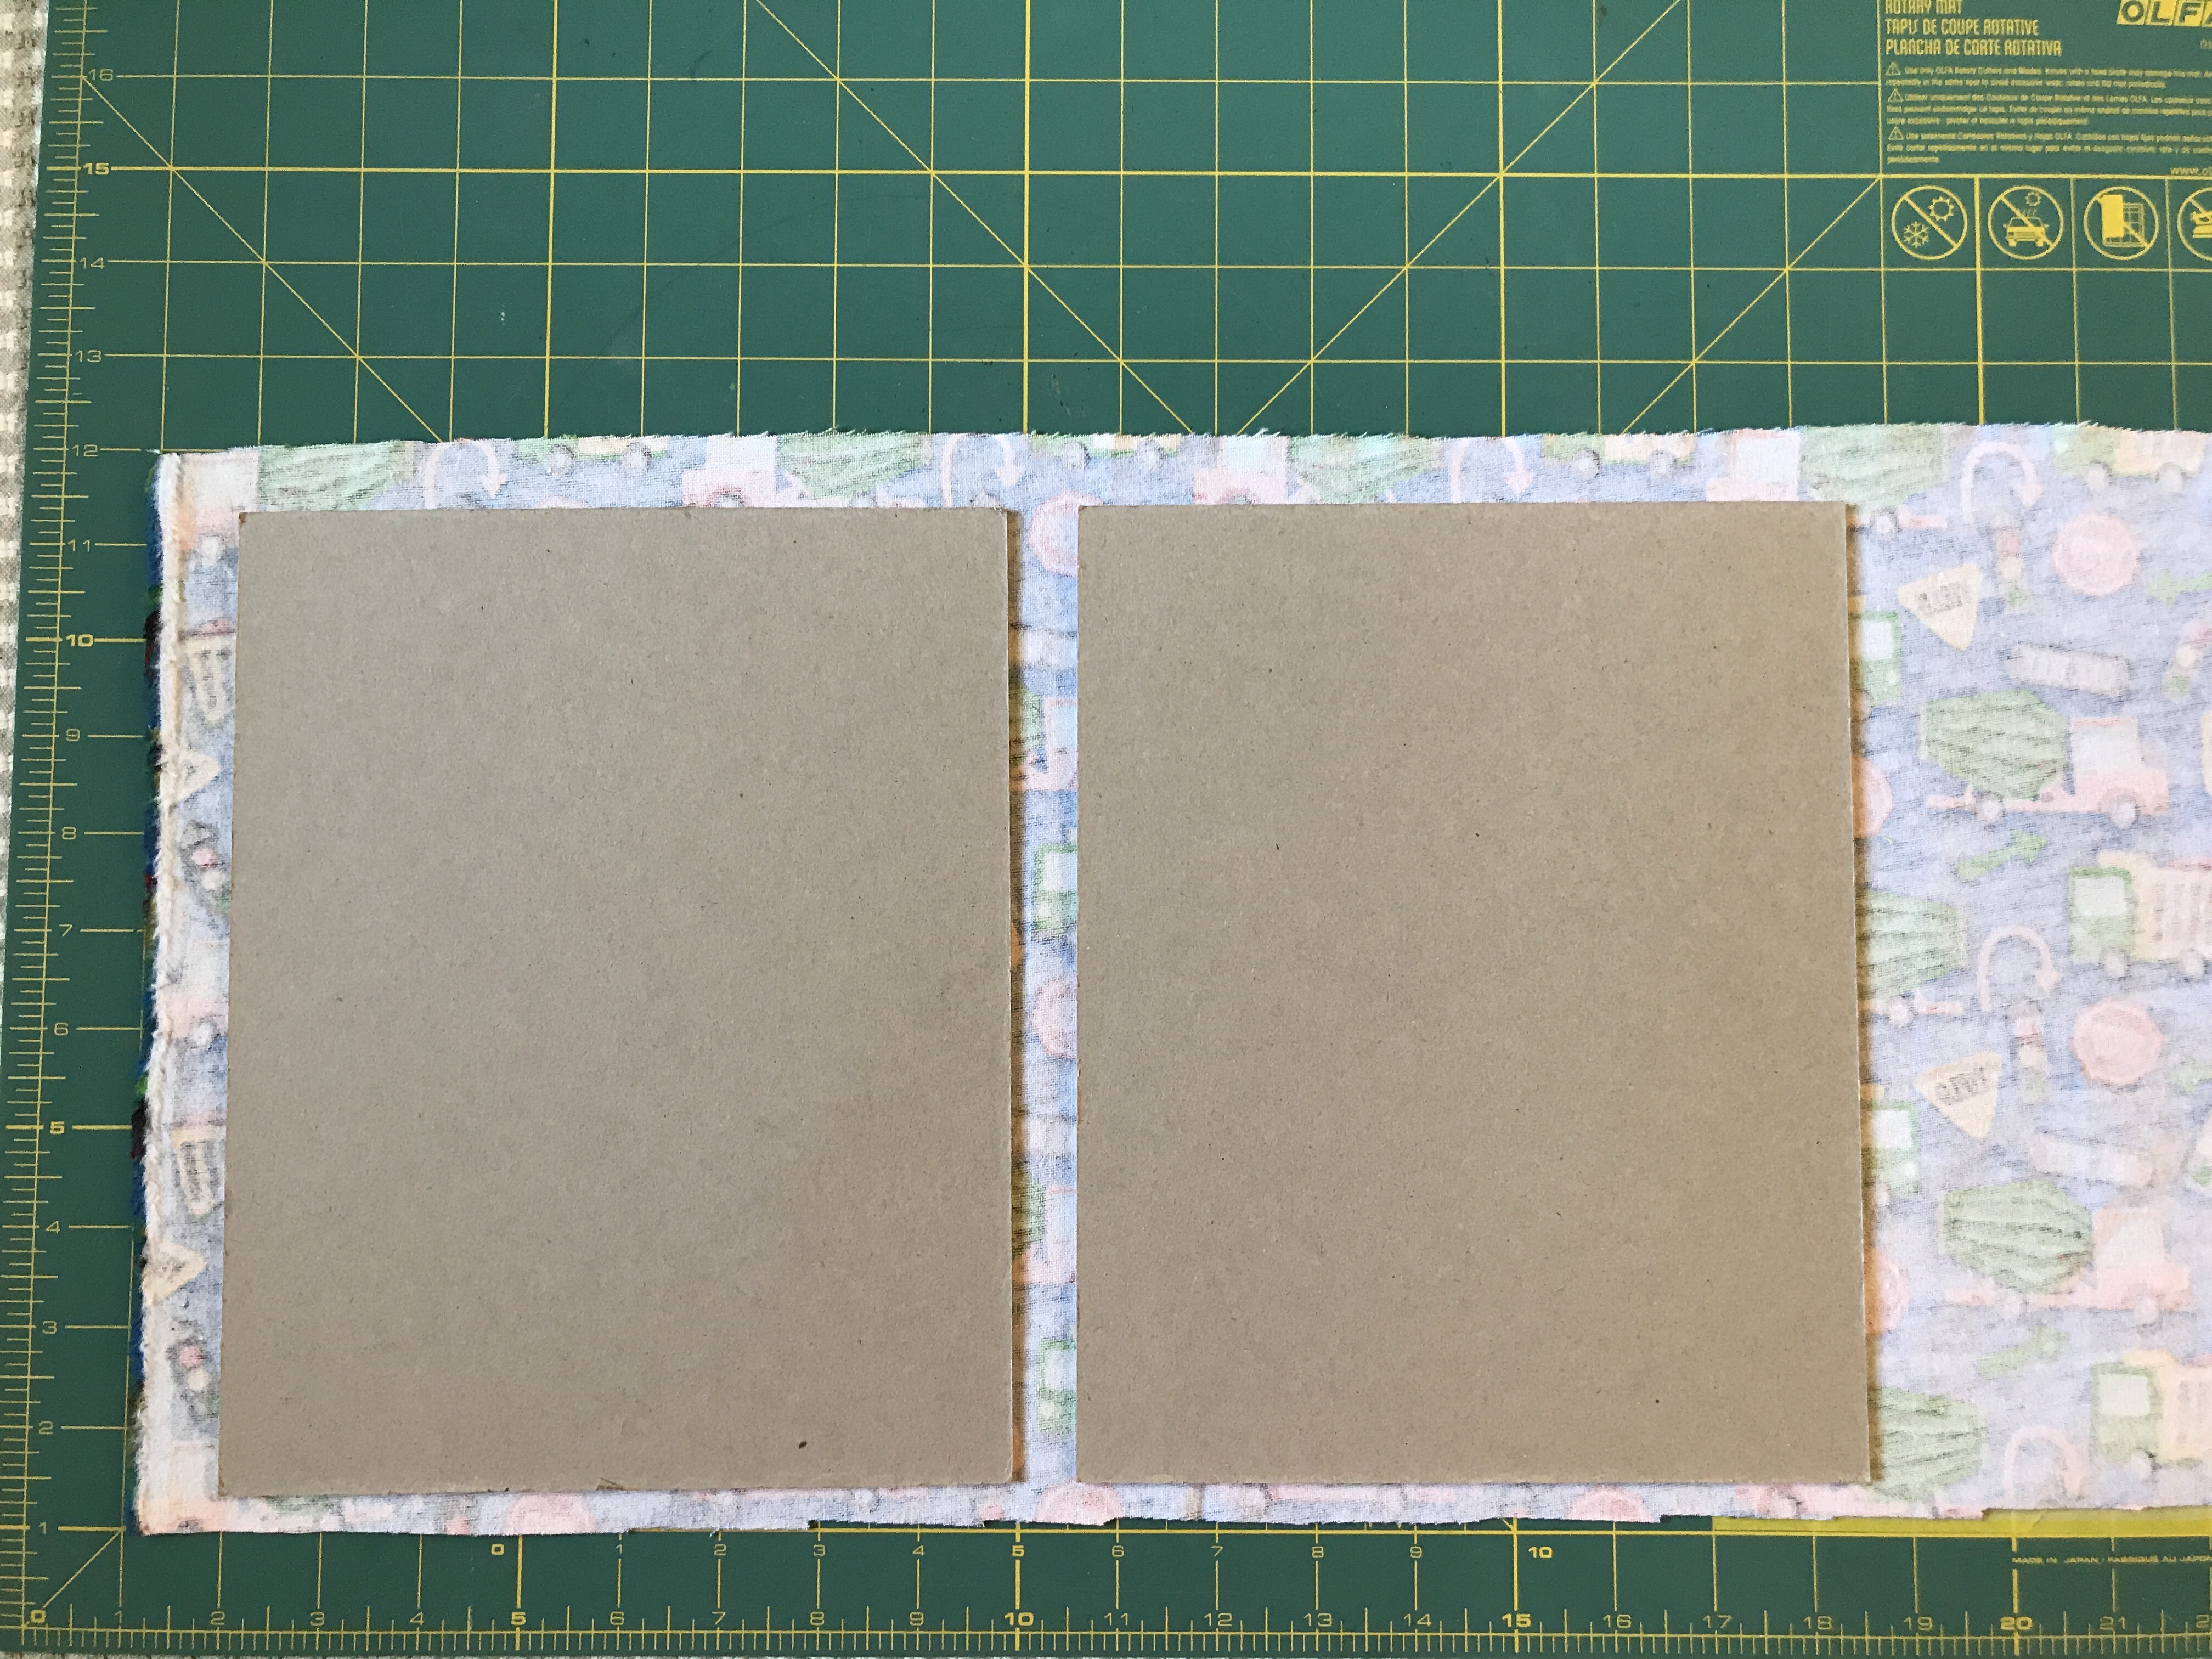
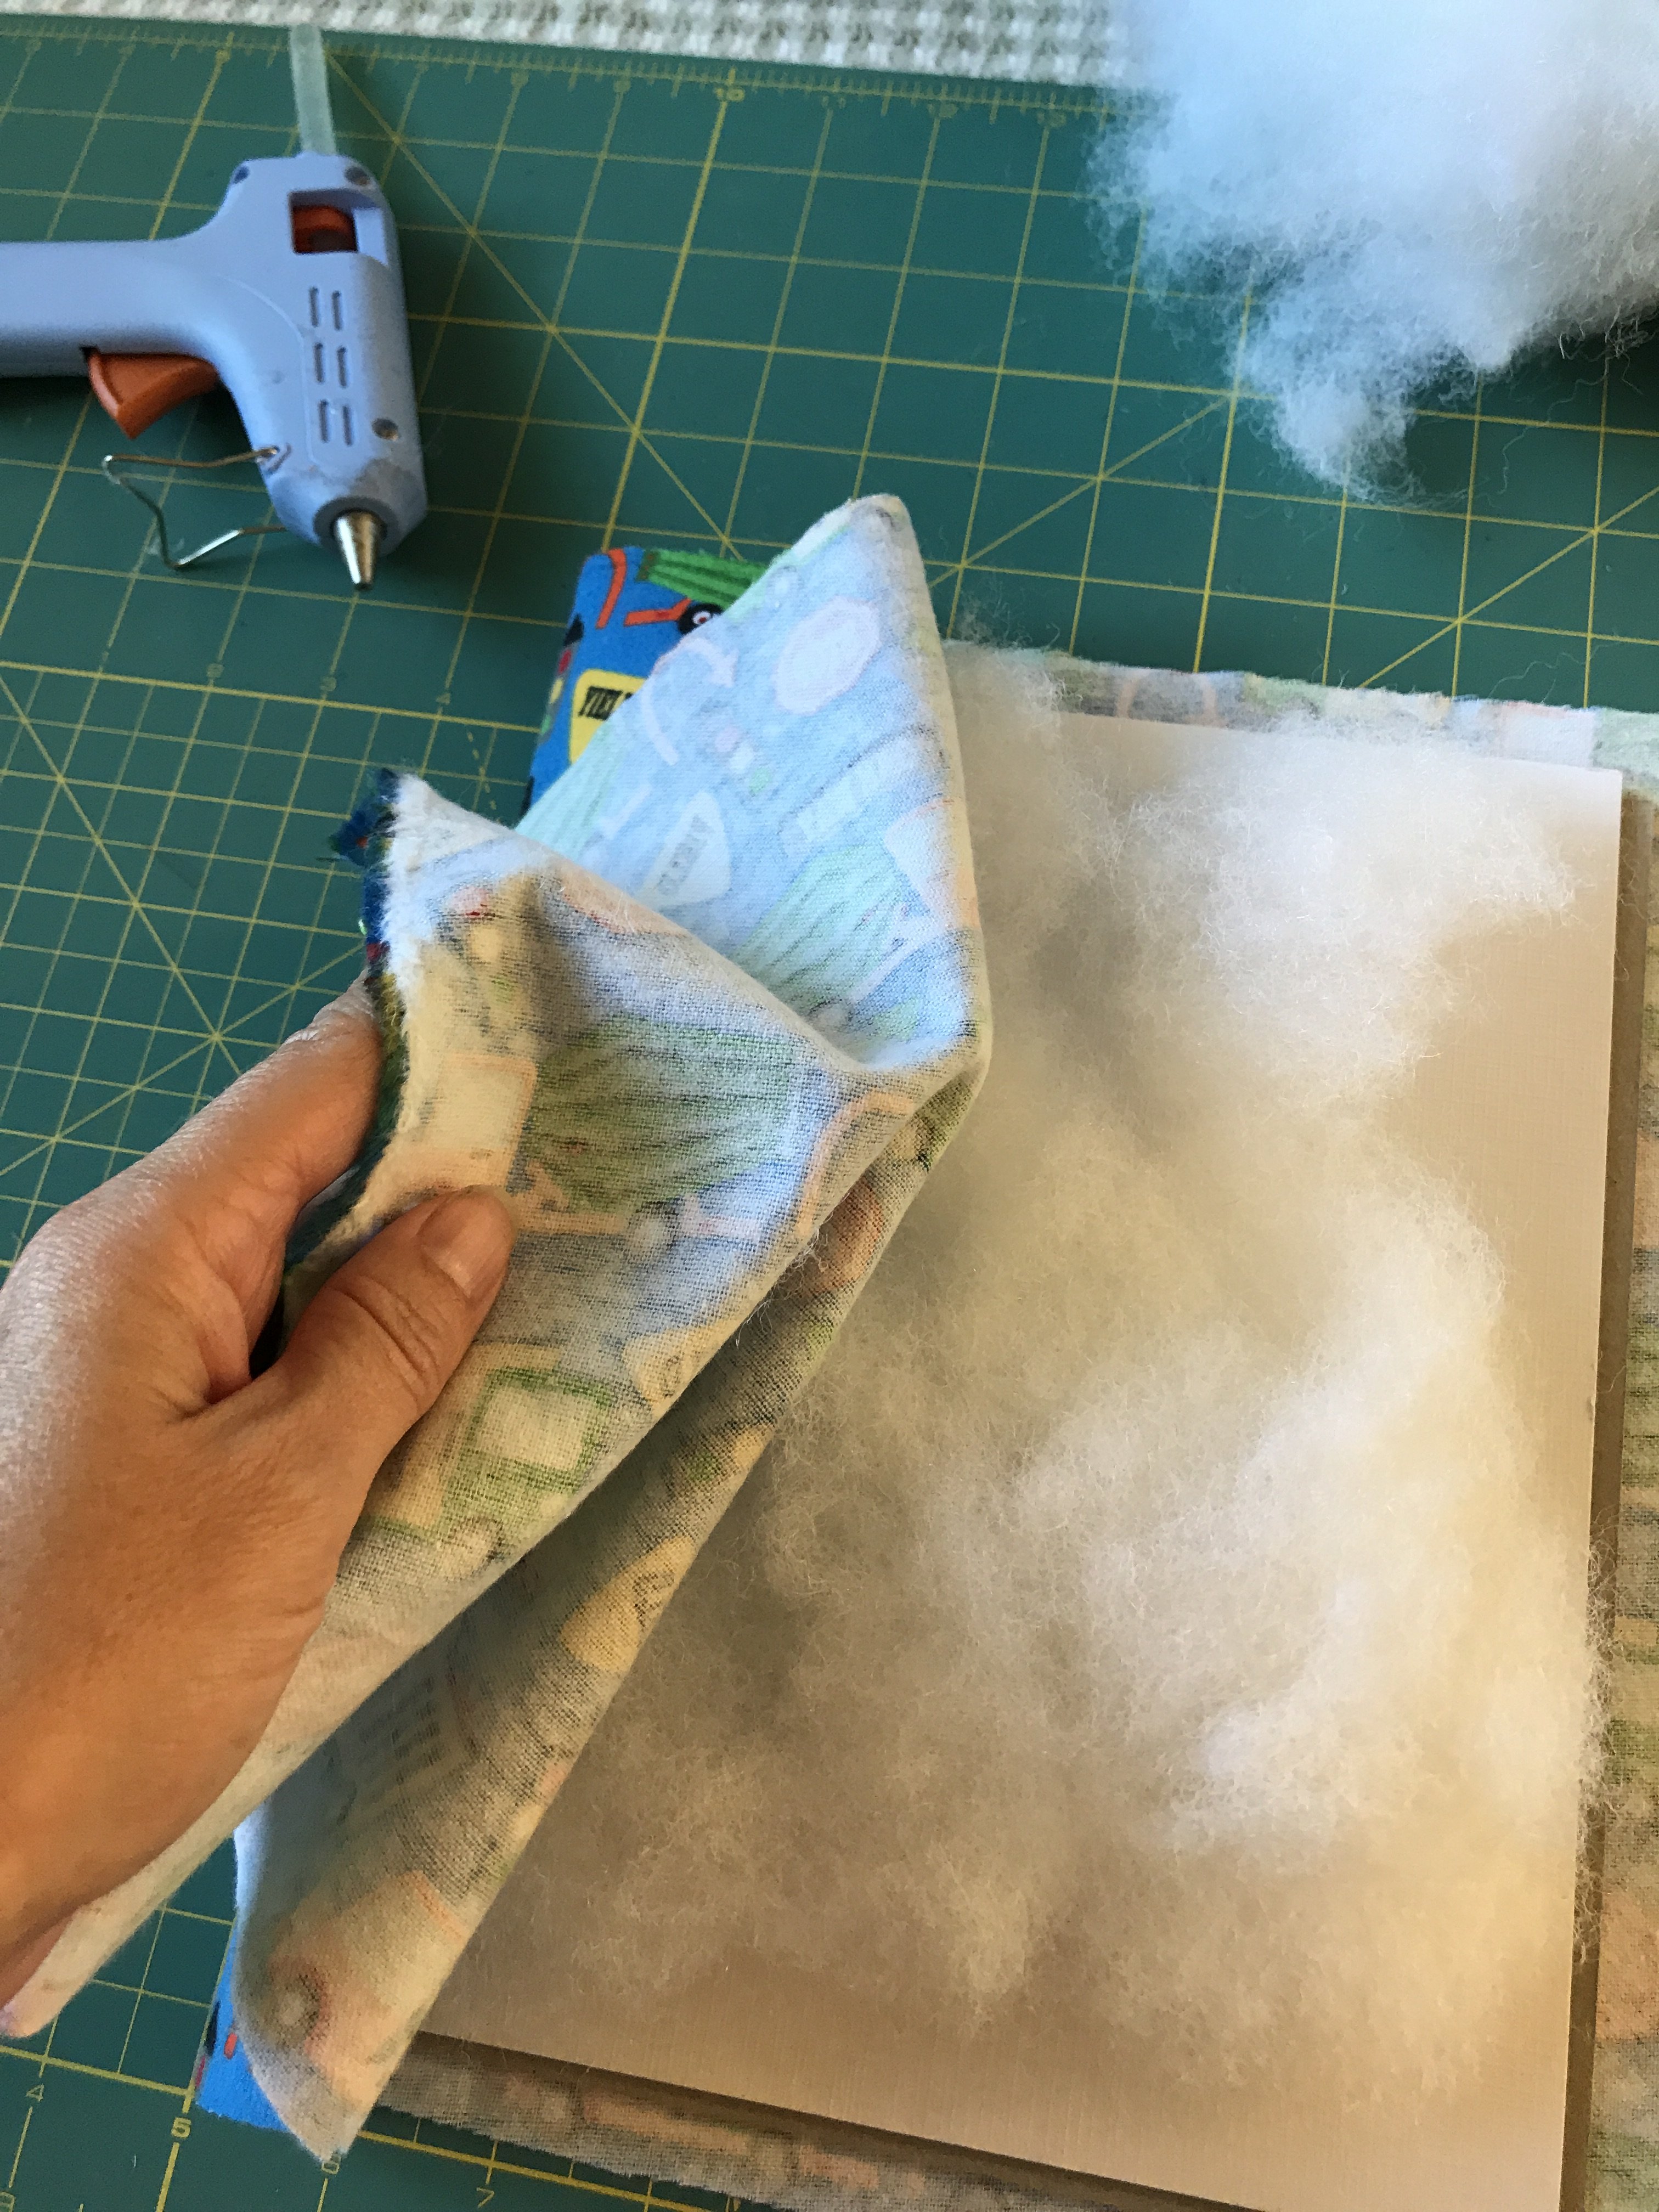
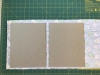 First, start by laying out your flannel flat. On top of the flannel, line up your boards next to each other with approximately 3/4”- 1” in the middle.
- Measure and cut the flannel into a large rectangle to extend beyond the size of the boards by approximately 1/2-3/4” on all sides (leaving the 3/4”-1″ gap in the middle of the boards). Cut off the excess strip and keep it to finish off the center part in-between the boards.
-
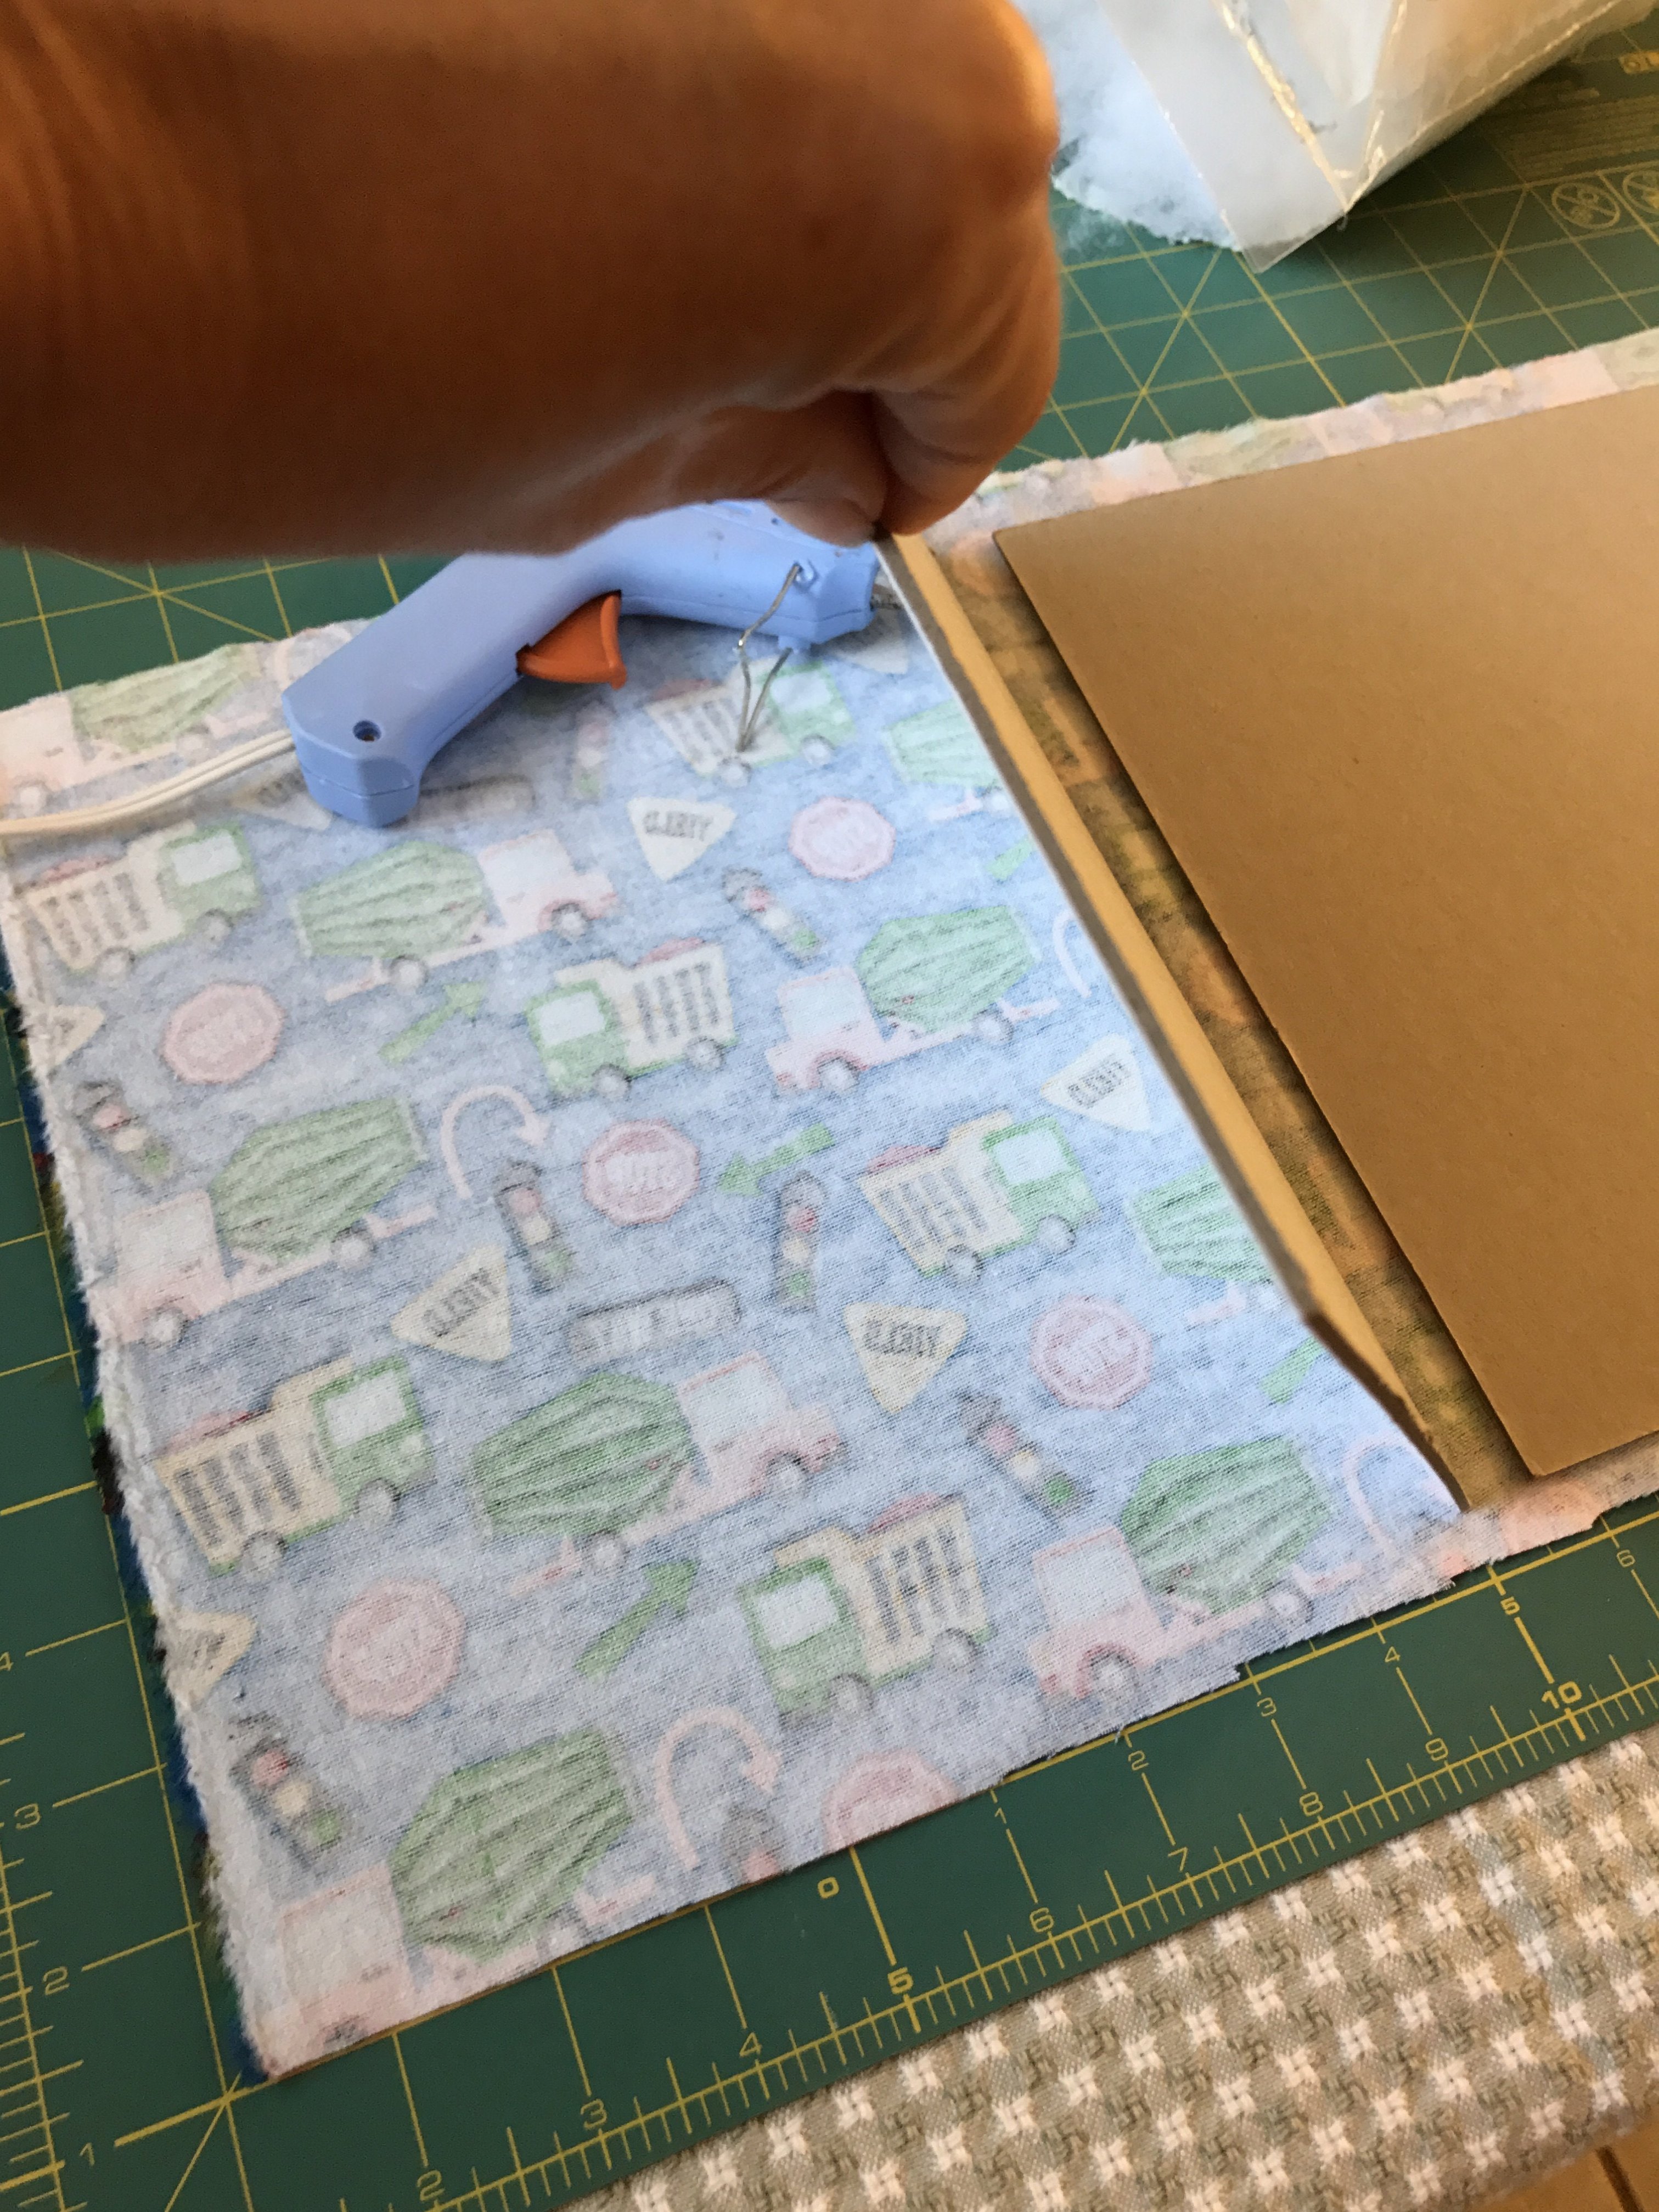
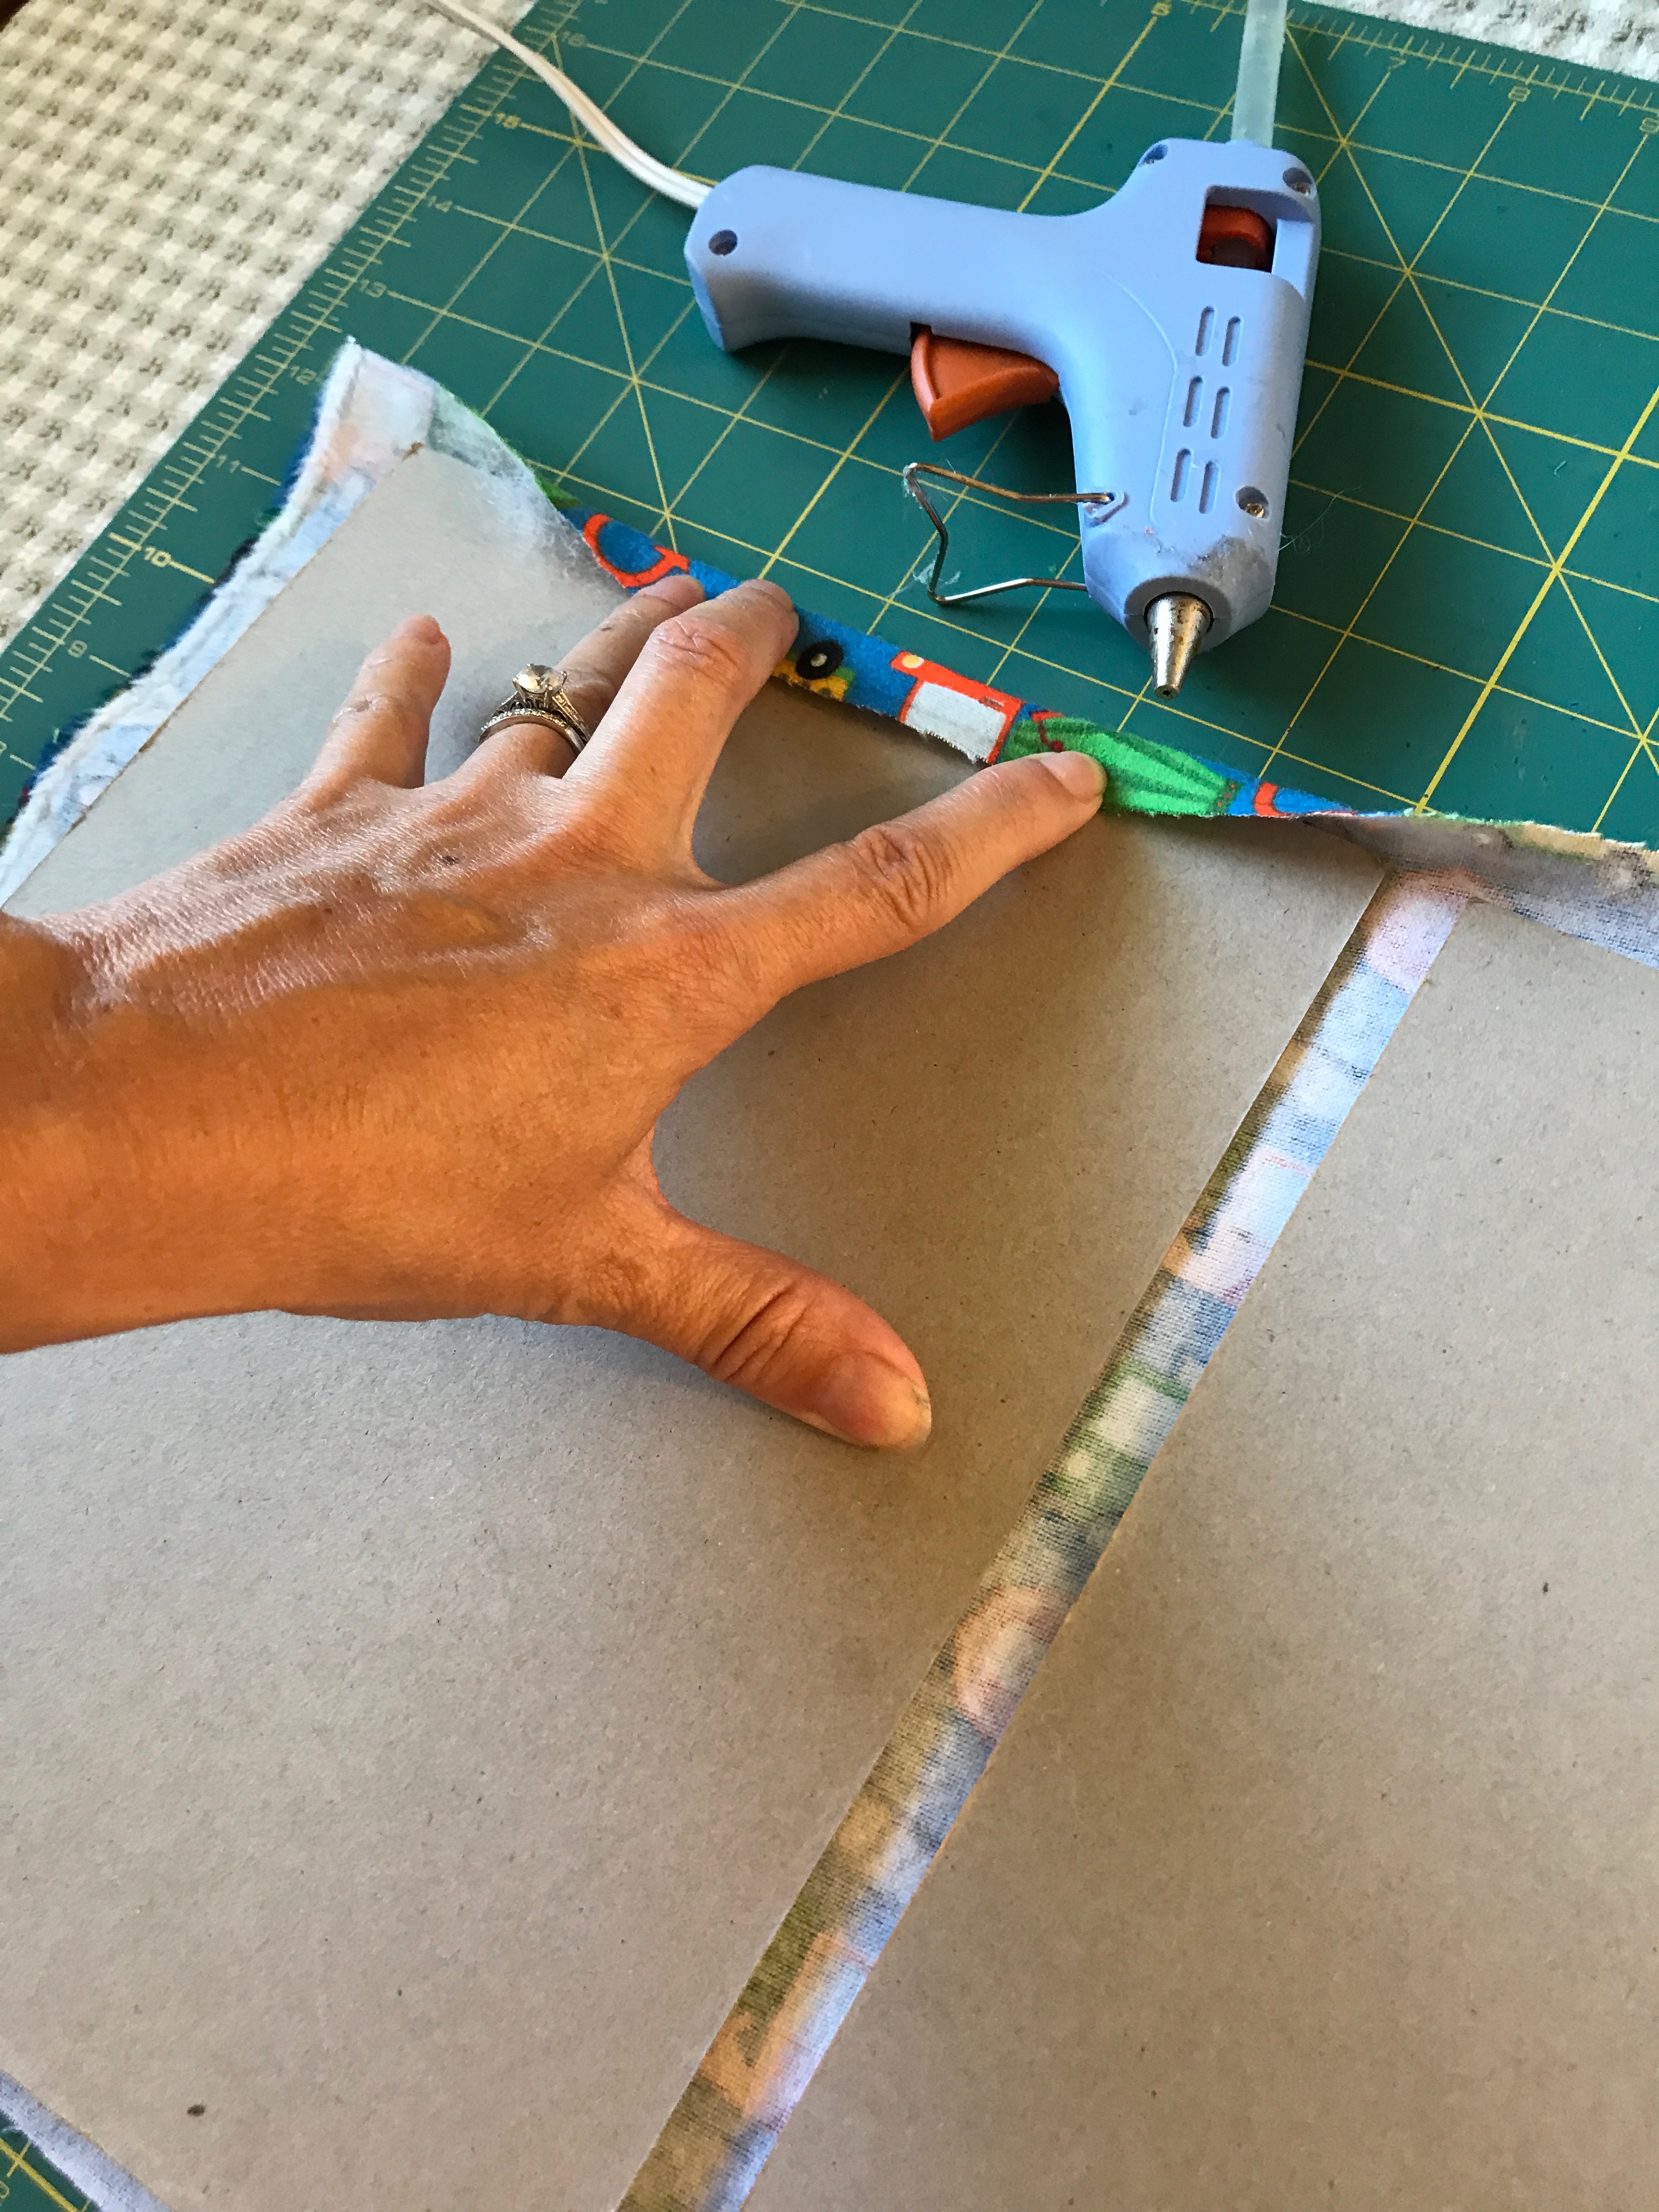
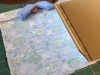 This was the tricky part. I found it easiest to use the hot glue to attach one of the vertical sides in the middle first and secured the inner corners, then turning it over put stuffing on the back side of the board, pulling the flannel over until I liked the way it looked. Applying glue to the center first helps keep the middle line from accidentally shifting as you pull and stretch the fabric over the edges and keeps the design on the fabric straight.
 - I turned the board back over and pulled the flannel over the edges securing it to the board with hot glue little by little adjusting as I went, adding more or less stuffing so there wouldn’t be any wrinkles or gaps.
- Repeat the same on the other side.
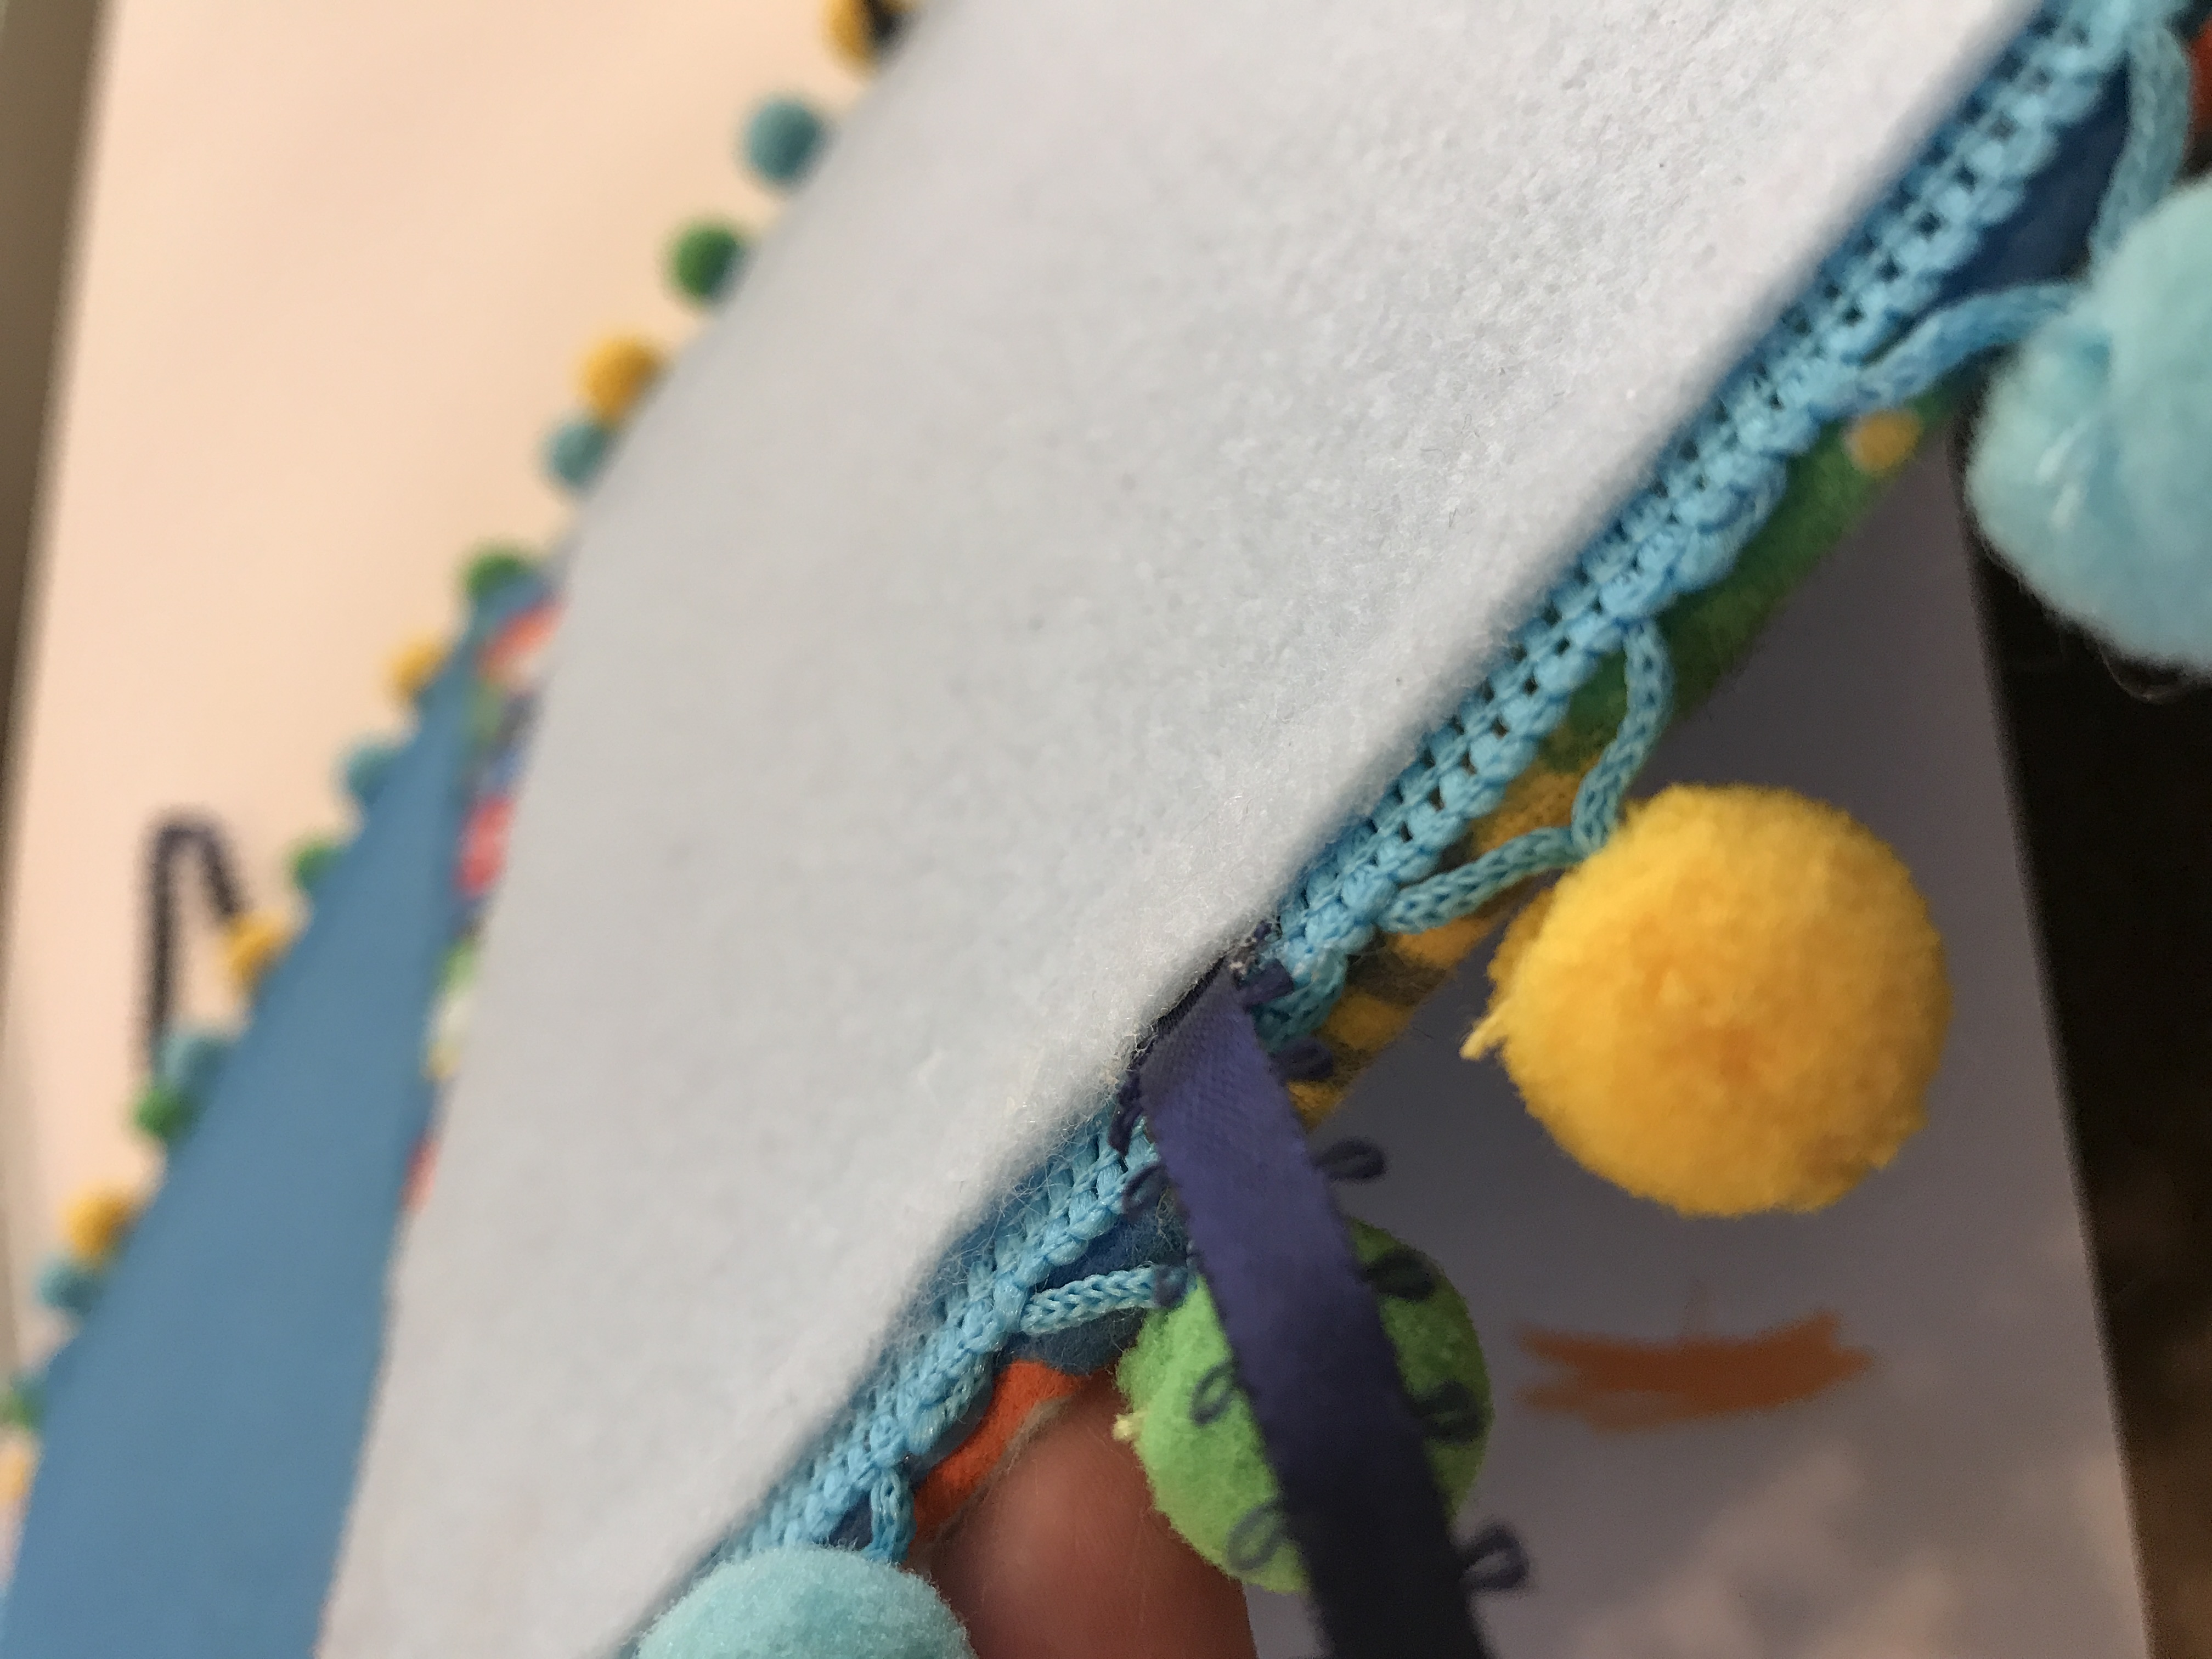
- Glue the trim around the edges.
- Cut the cord into approx. 6” pieces and hot glue them to make a handle on the top and strings on the side to tie together to keep it closed.
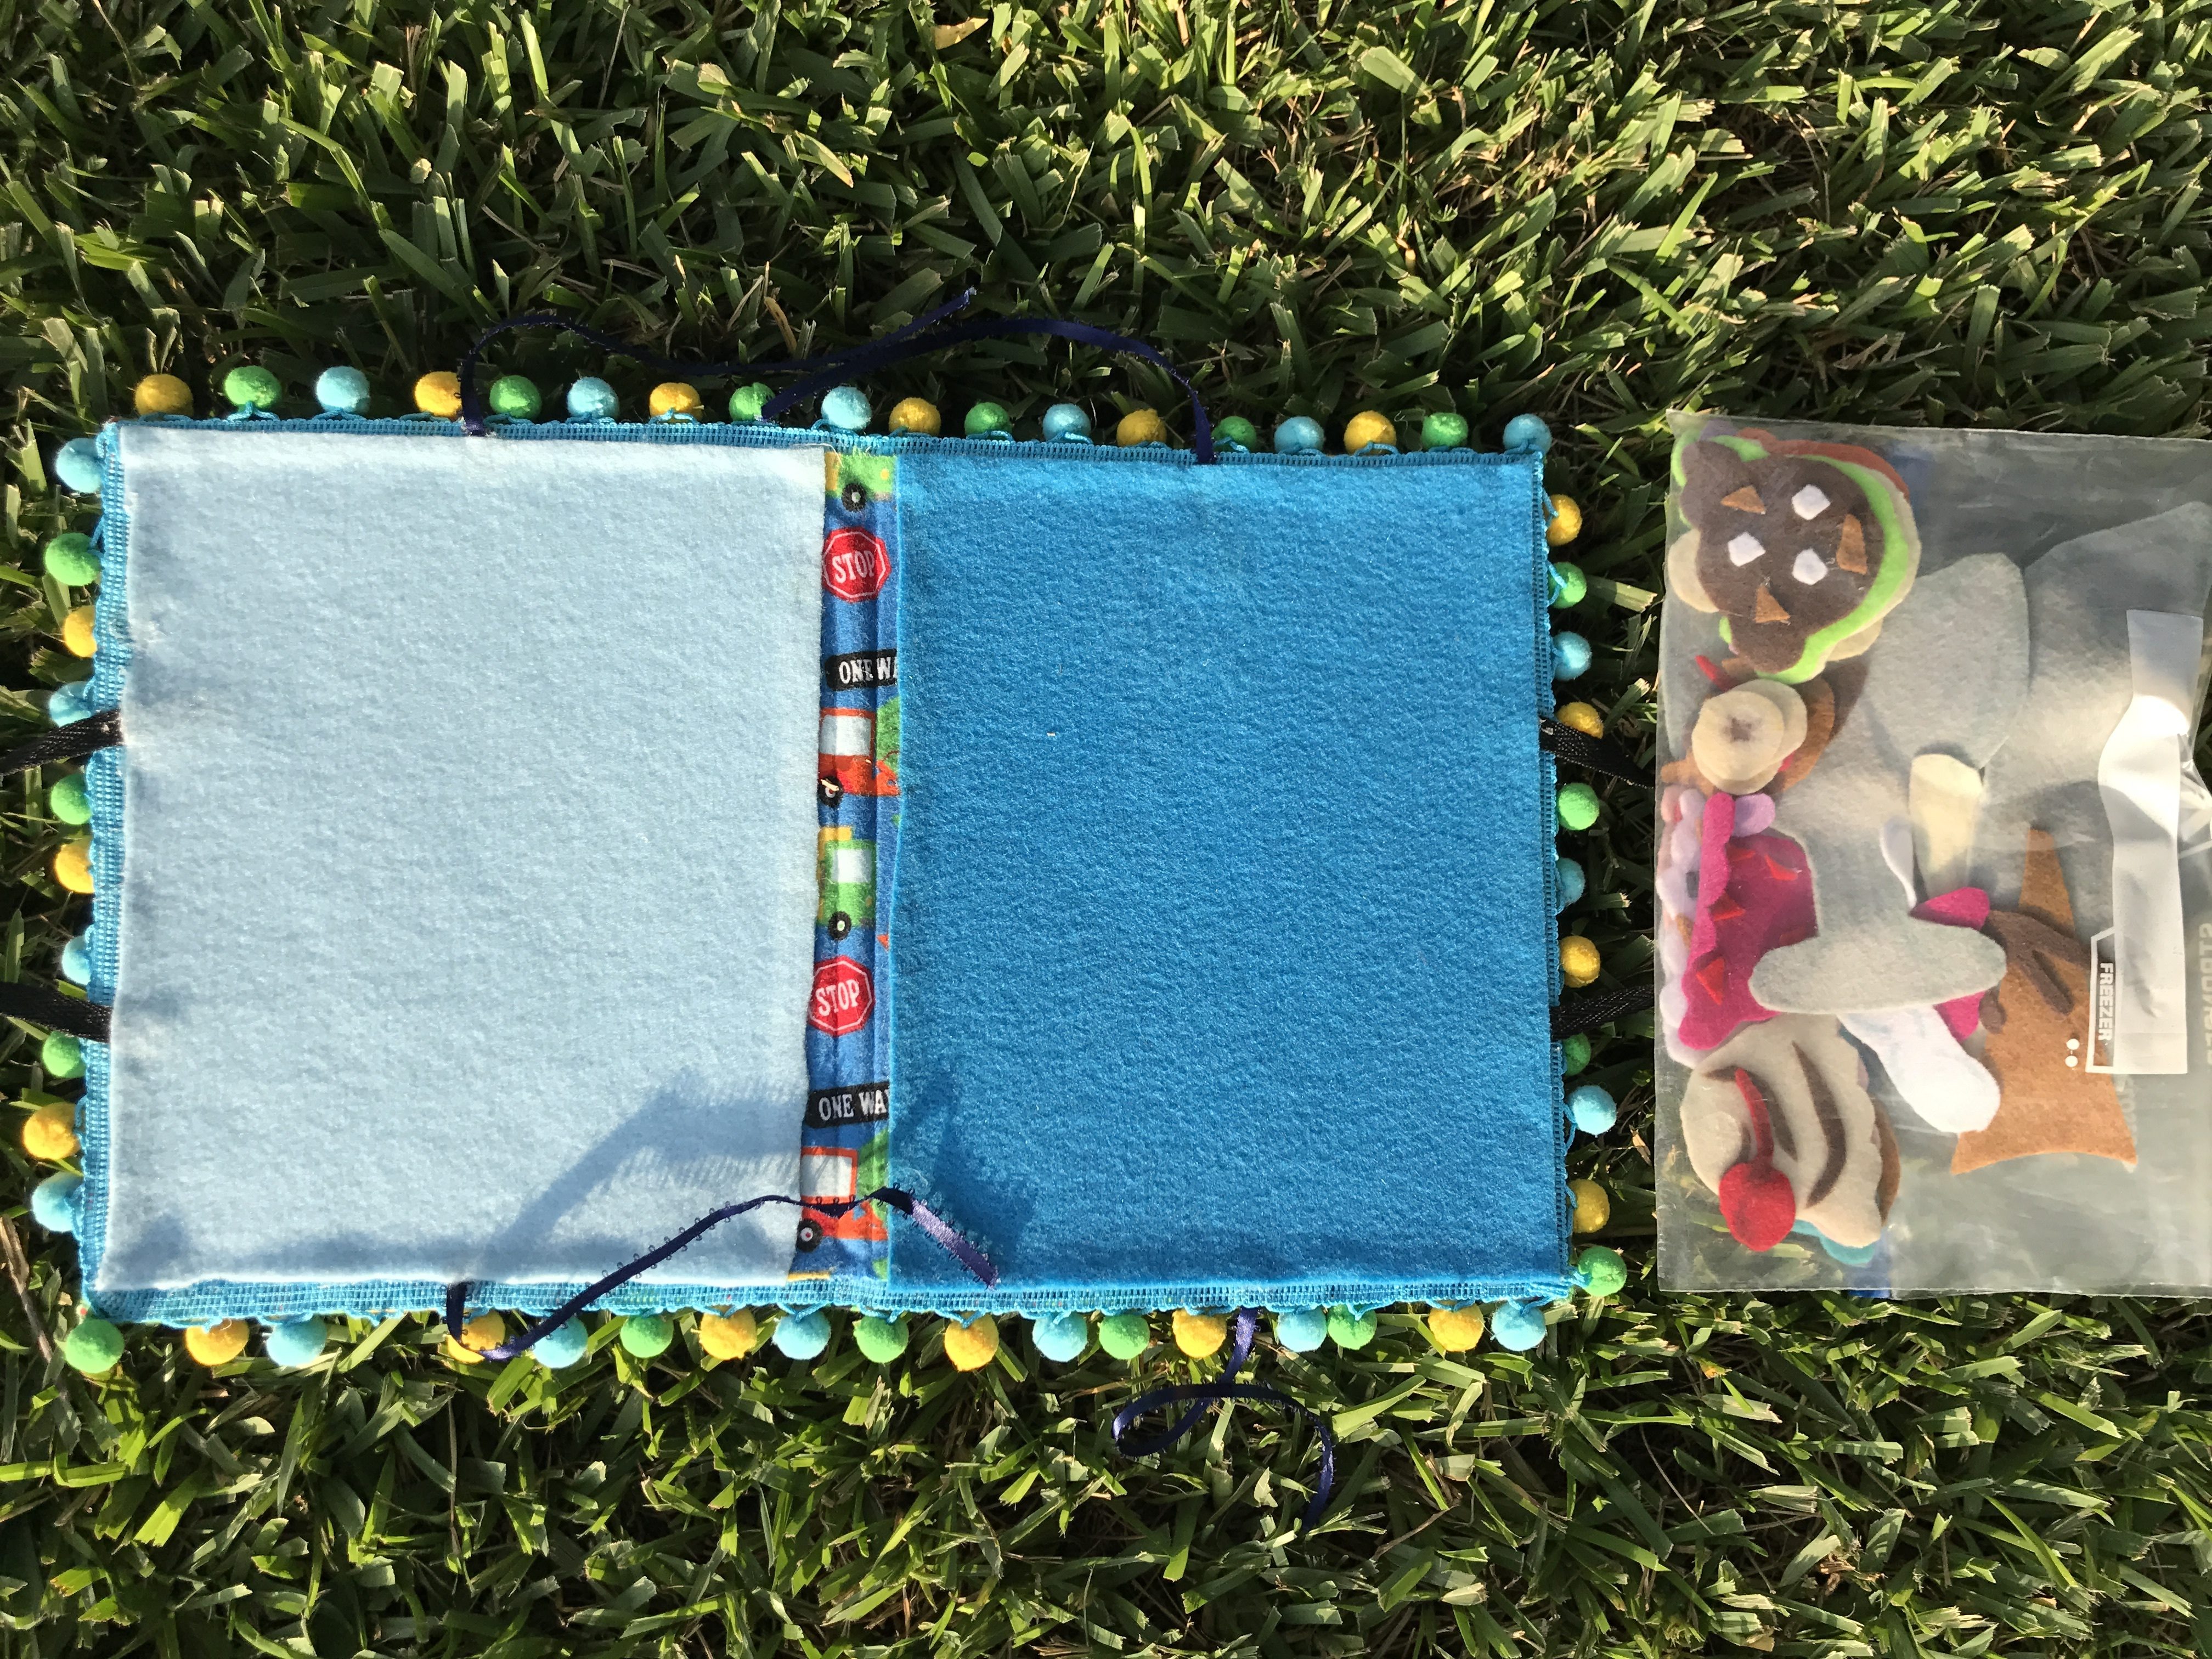
 With that extra piece of flannel fabric saved from the beginning, glue it down the center between the two board on the inside to cover up the inside edges of the boards and back side of the flannel cover.
- Trim your felt sheets to fit over the boards if needed and glue in place over the cords and trim to provide extra support. It will make your project look more finished.
 I put together some felts in a quart sized ziploc bag and placed it in the center of the folded up travel board. When I tie the sides of the board together it keeps them in place and I don’t have to worry about them falling out along the way.
I am so thrilled with this project! My son gravitated towards it immediately and loves carrying his very own “brief case”/purse. He will sit a little longer now… still not through a sermon, but it is an improvement. 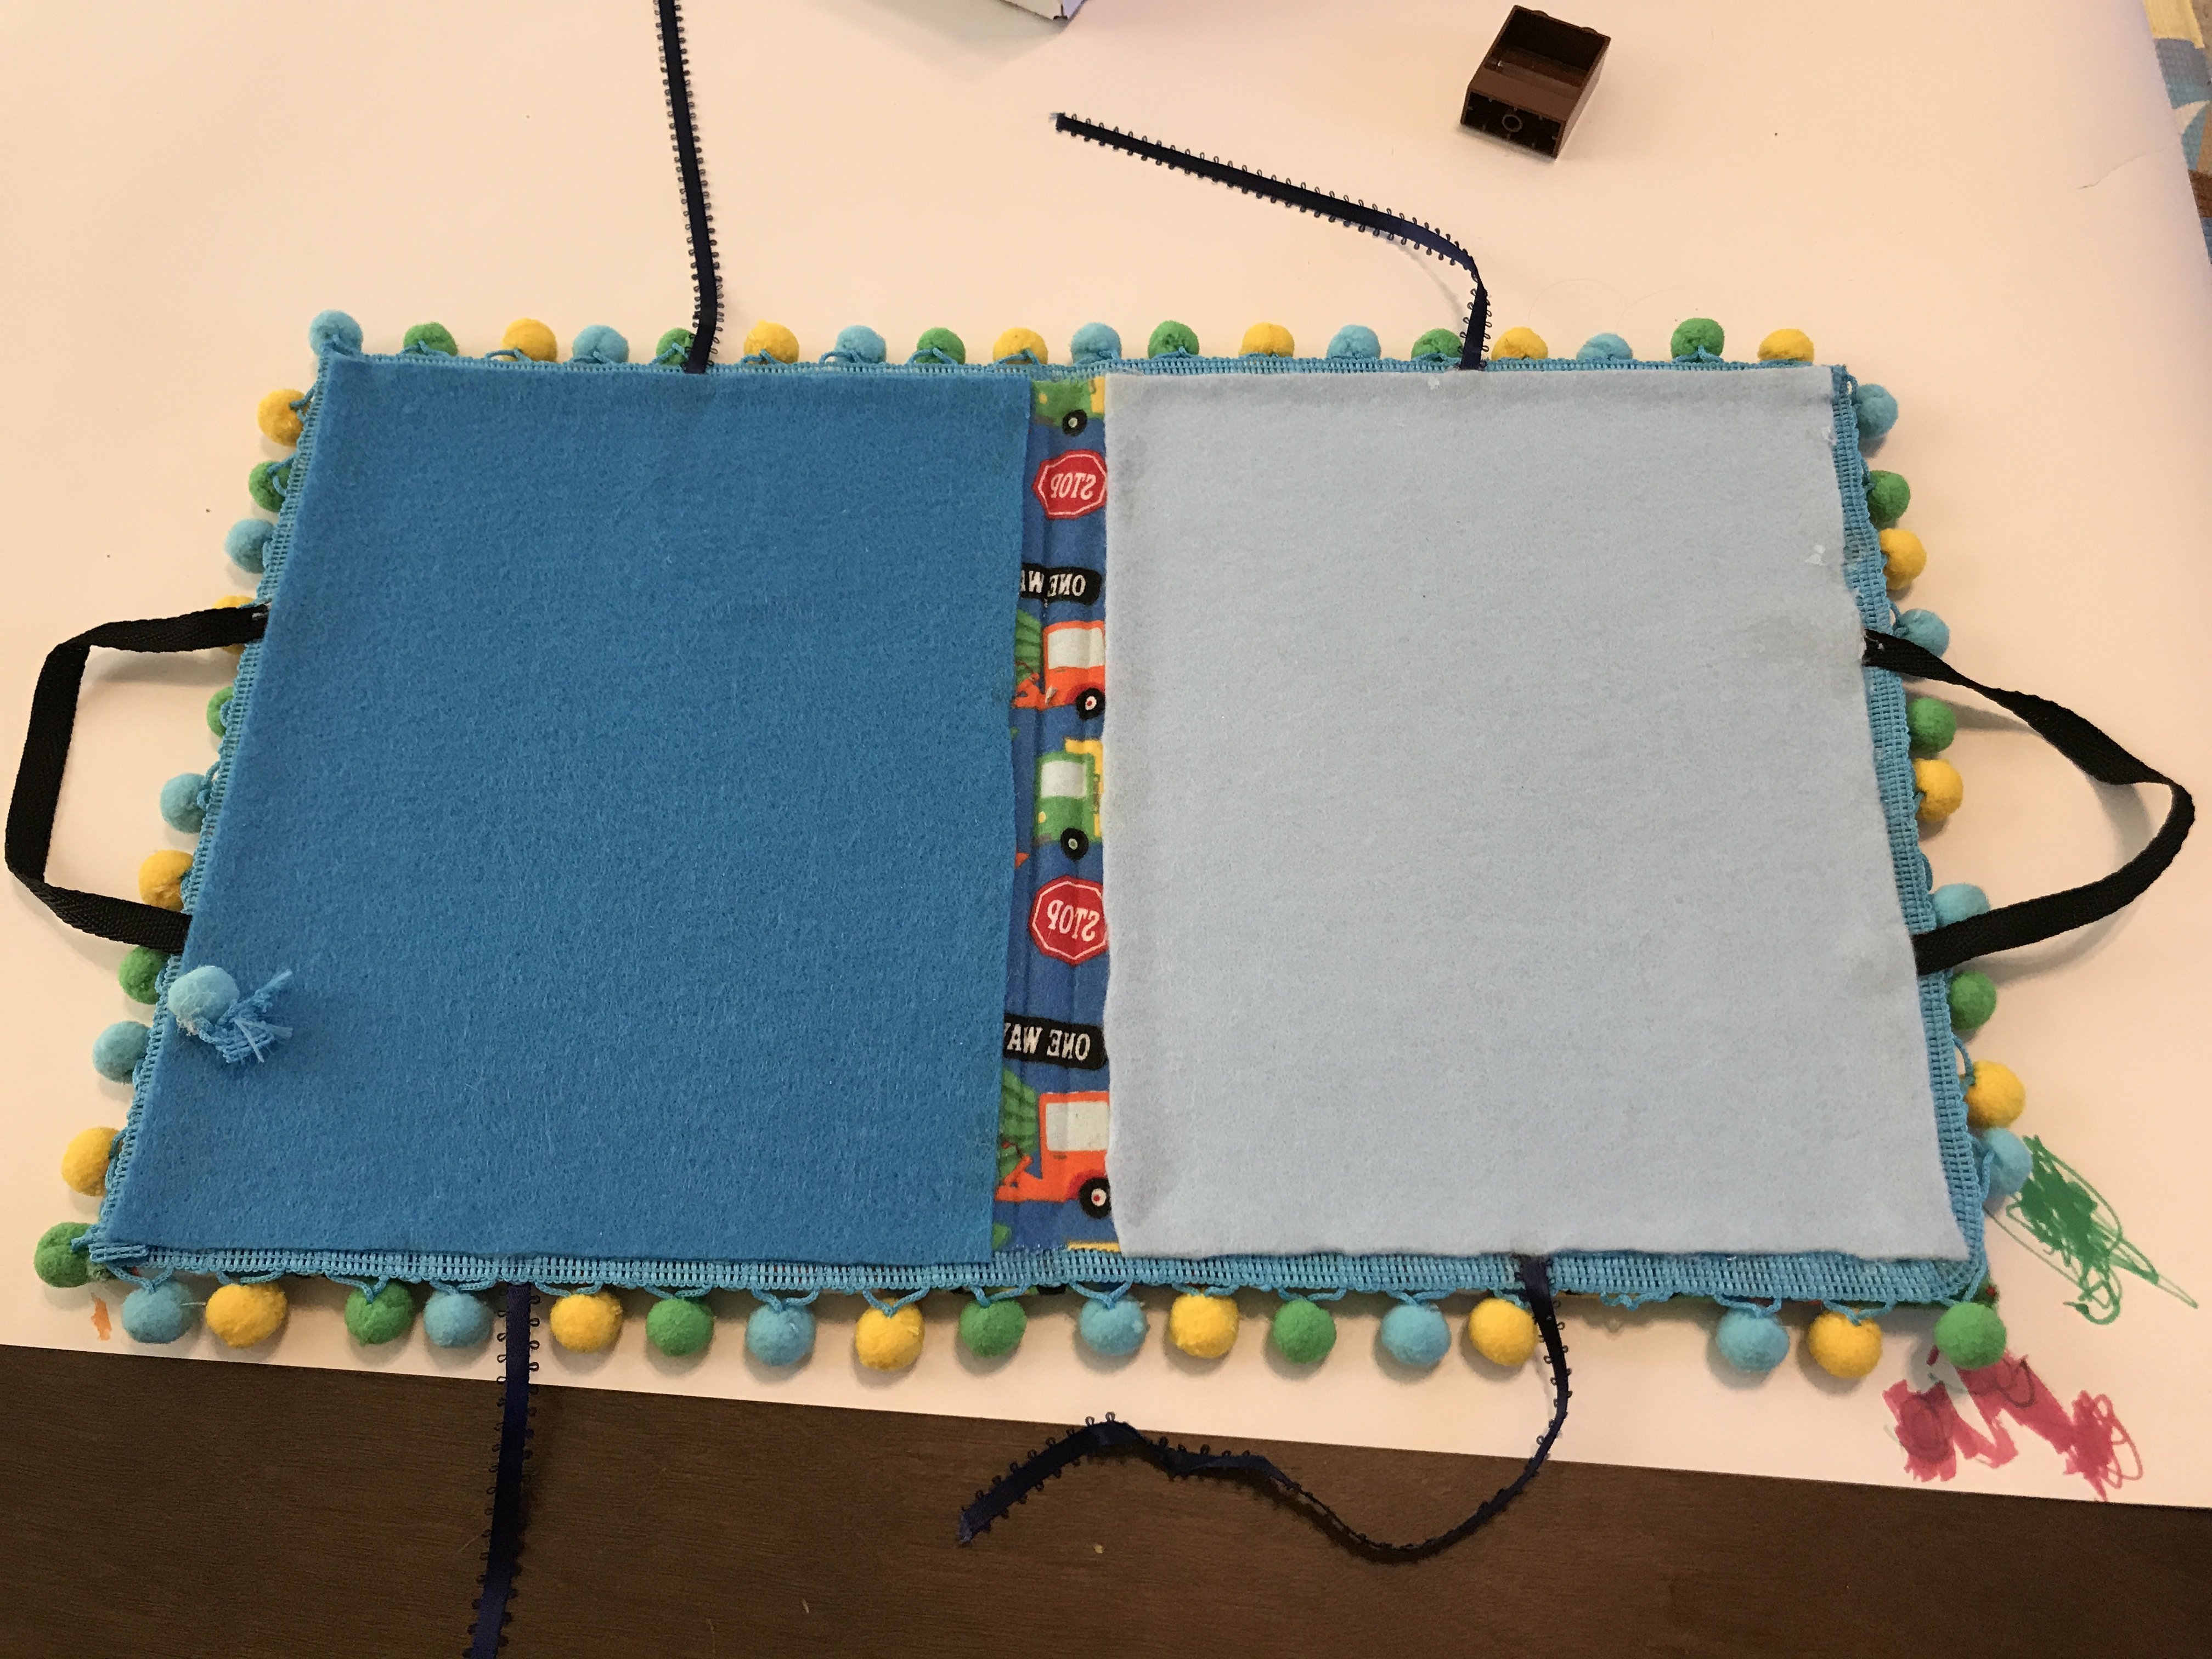 He loves placing the felts and making up pictures. I don’t have to worry about loud noises when he drops them or things rolling down the isles so I have to go crawling and searching under the pews for missing pieces. Yes, as a mom, I am also an acrobat, & collector of all things missing so that no one else accidentally slips on them and OOPs! Safety police should probably be added to that title too.
Best of all, its light and my child LOVEs to show his independence by carrying them himself. One less thing for mom to carry, One more thing that entertains! Win WIN!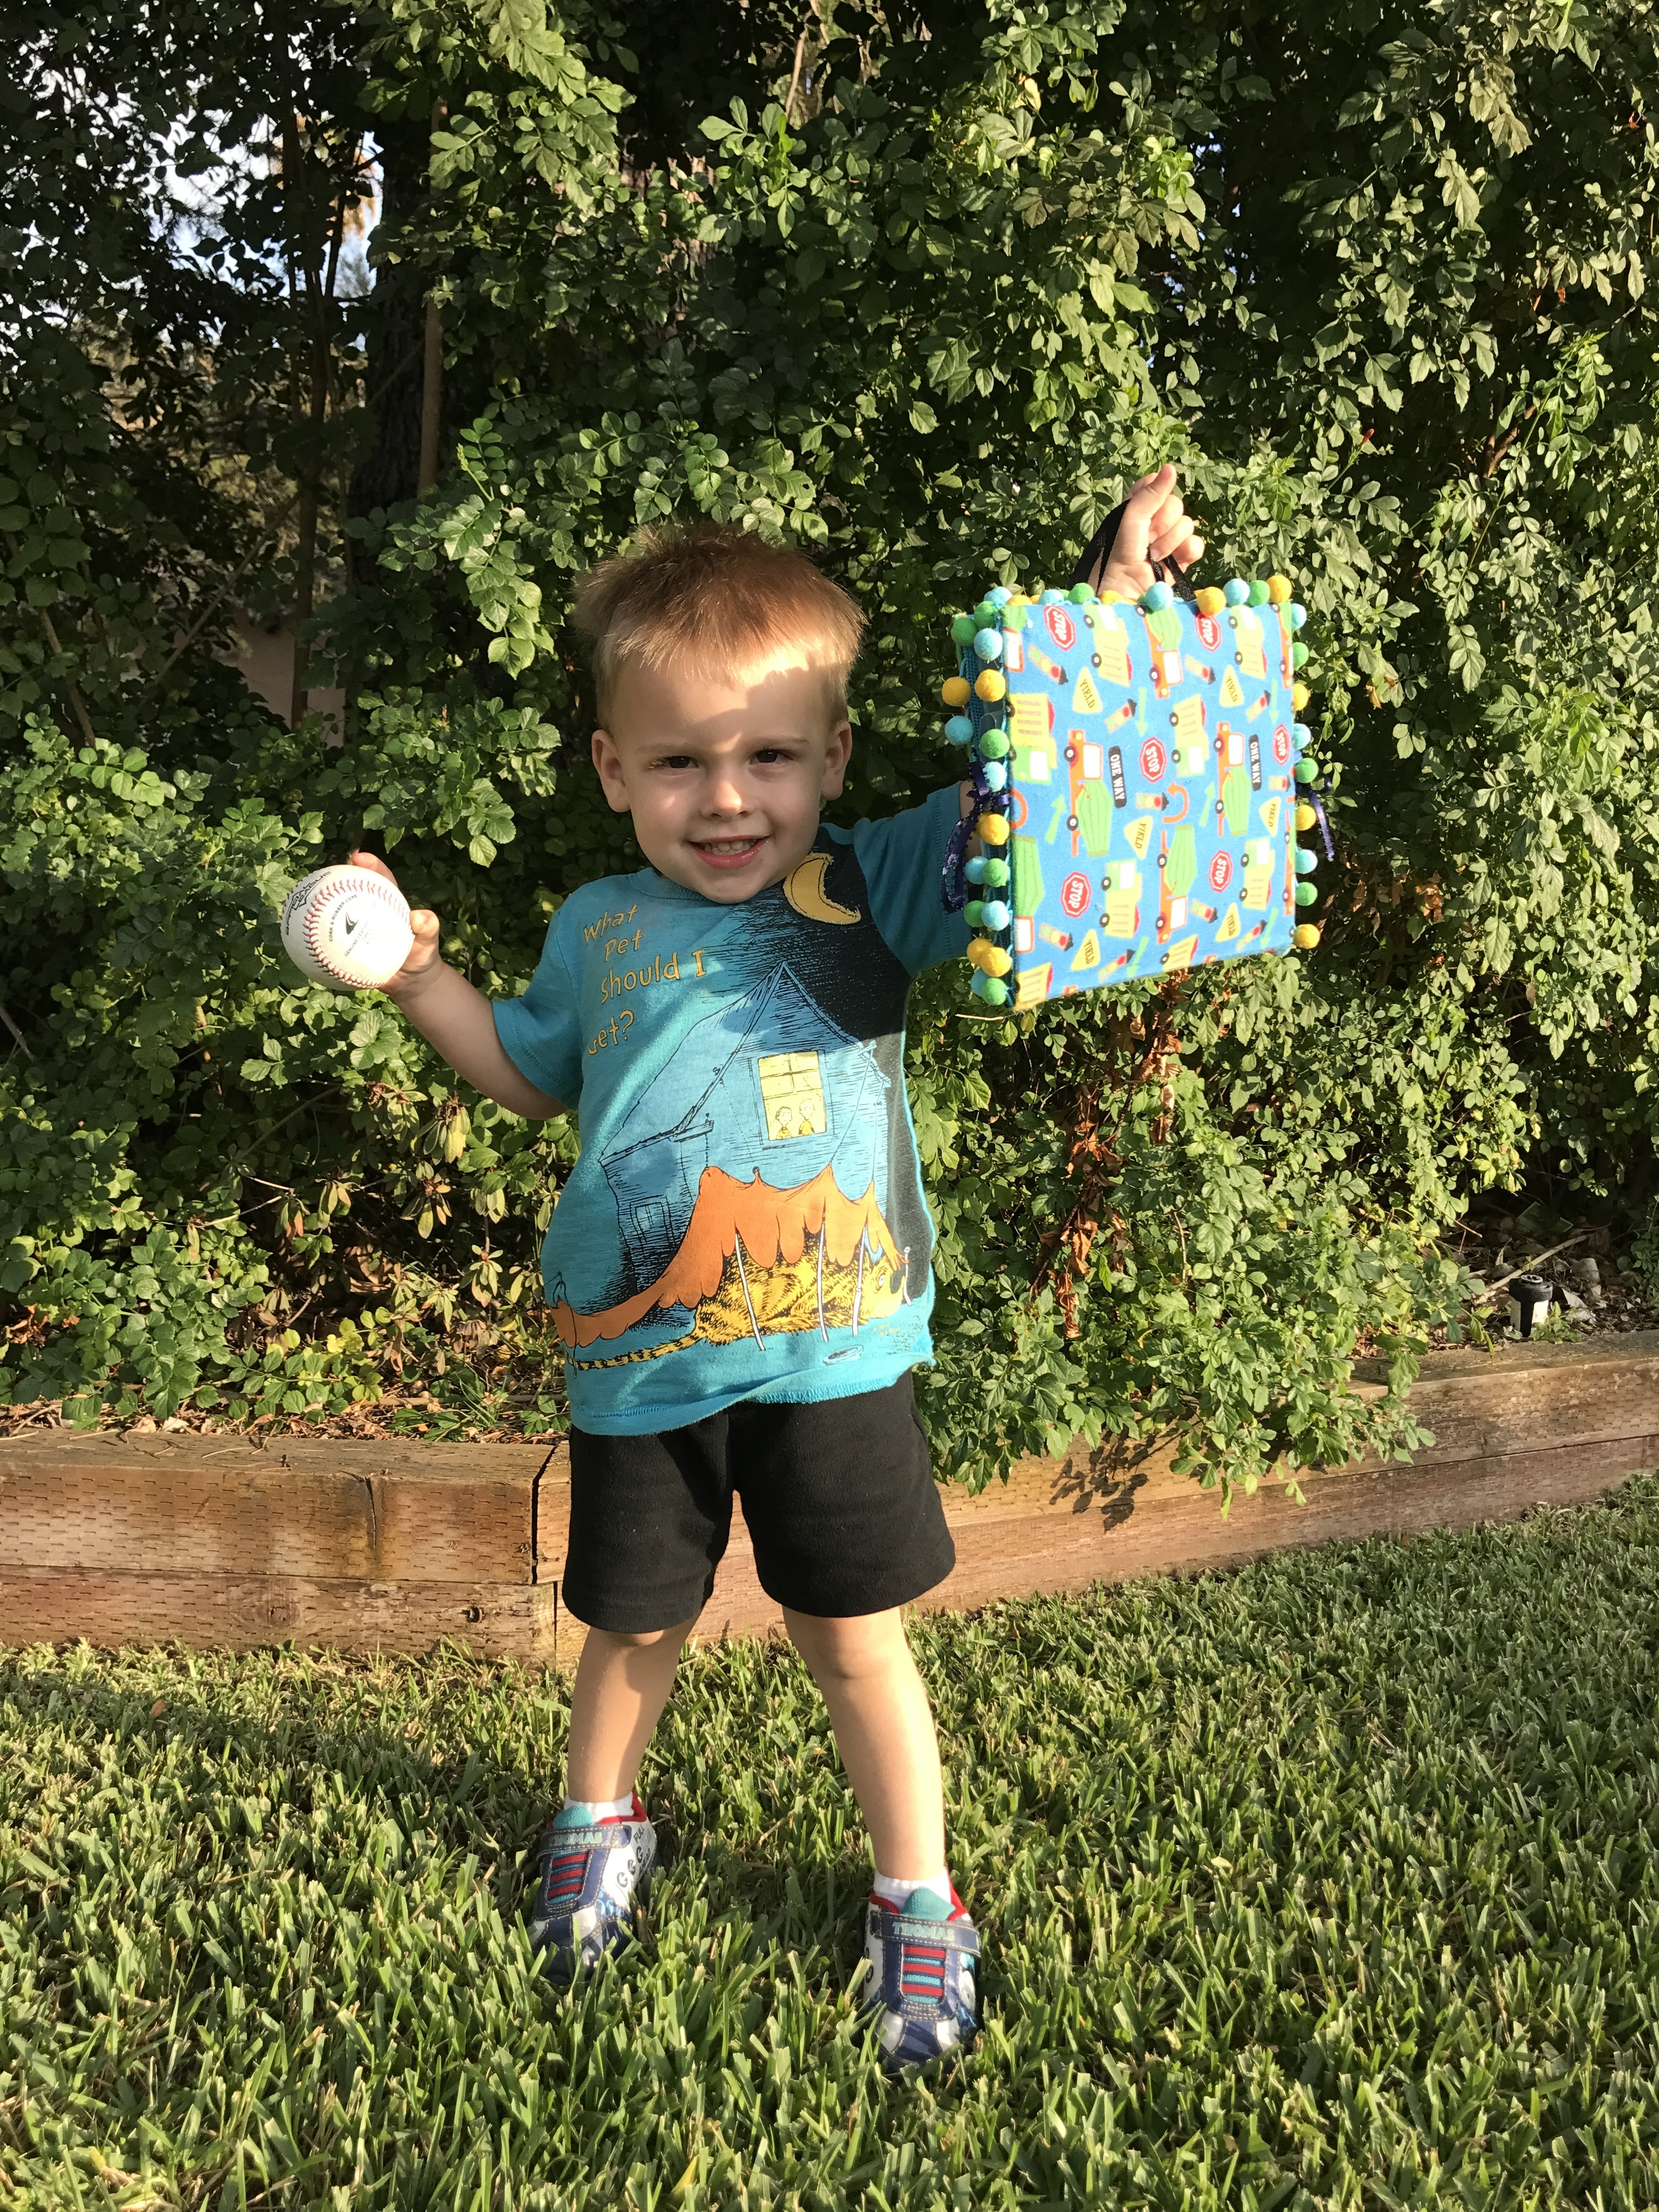
The COTA perspective:
There are many ways I can use a felt board but I’ll focus on a couple that I think bring other elements into the treatment aside from the obvious fine motor. Depending on where and how you place the board you can encourage upper body strengthening, ROM, crossing mid-line, postural control and endurance. For example; elevate the board on an easel, wall or desk so that the child must reach higher, further; have them lay on their tummies placing the board vertical against a wall to increase prone extension, endurance and postural control. Place the board flat on the floor and have the child, while standing, place a felt on the opposite side of the board of which ever arm they are using, or call out a side of the board for the object to be placed (crossing mid-line, ROM, postural control, visual motor, position in space etc.). There are numerous ways to use a felt board depending on your therapeutic goals.